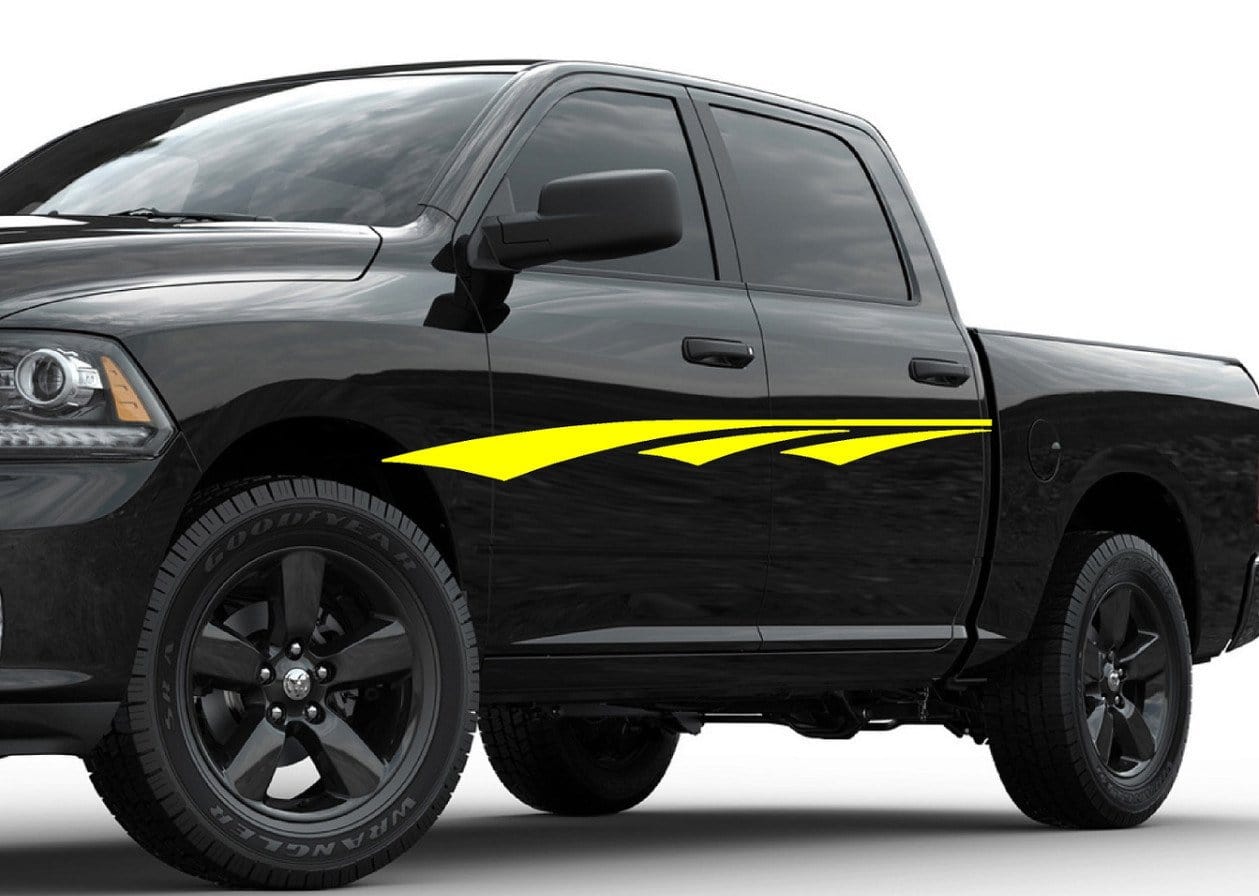
2- Car Truck Blue Side Accent Decals Graphics Stripes Wrap Vinyl
FEATURES
2- Side Accent Stripes Left and Right
This sale includes a two decals and they are a mirrored one for the left side one for the right side.
Two Options Available
8 ft long
6 ft long
(Measurement is at the thickest point of the decal.)
Colors depicted: Multicolored
Note: Settings on monitors, devices etc can vary from one to another and colors and sample pictures shown on our products are representative of the actual colors we use.
Decals can be applied to any flat non-porous surface.
Decals are made from 3 mil Premium Outdoor Air-Release bubble free vinyl wrap. Laminated to last at least 7-8 years.
(Please contact us for alternate sizes and colors. We can print these at any size.)
APPLICATION
Step 1: Leaving the release liner on , position the vinyl on the substrate, taking care to measure and align it properly.
Step 2: When it's positioned correctly, apply a hinge using Main Blue painter's tape or something similar, to affix the graphic in place (from the center).
Your hinge should secure the vinyl and liner to the substrate.
Step 3: With the masked vinyl print secured, lift one side of the vinyl away from the substrate and remove the release liner.
Peel the masked vinyl and lay it back down on the other half of the graphic.
Step saving 4: Using scissors, a utility or exact o knife, cut away the exposed half of the release liner.
Take a moment to make sure you still have a clean dry surface. Bits of dust or release liner fragments left behind can cause ‘bubbles” under your print.
Step 5: Raise the half with exposed adhesive and carefully lay it down on the surface, working with your squeegee to get a smooth, bubble and wrinkle-free application.
Work from the center hinge outward.
Step 6: Then lift the other half, remove the remaining release liner and repeat the process.
When both sides are secured, finish burnishing and then remove the application tape at 45 degree angle.
Allow some time for the adhesive bond to form. And you are finished.
Returns
All Sales Are Final.
Product code: 2 Car Truck Trailer Side saving Decals Graphics Stripes Vinyl #A10B


